WHMCS Security Checklist for 2026: 10 Checks for Self-Hosted Installs
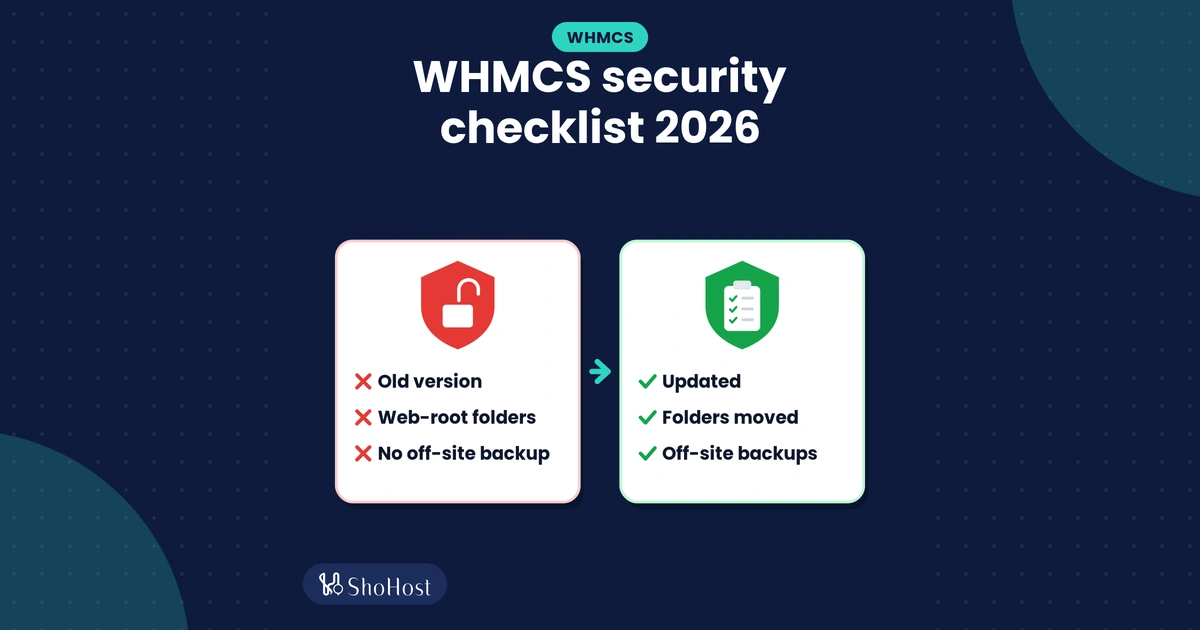
WHMCS holds your client list, invoices, payment settings and the keys to your servers. It’s worth an afternoon to lock it down properly once, then a quick check every quarter. This checklist covers the ten things we’d check on any self-hosted WHMCS install in 2026, in the order we’d check them, with the WHMCS menu paths and the commands you need.
Everything here comes from the WHMCS 9.0 documentation. Login protection gets its own deep dive in our pillar guide, how to harden your WHMCS admin area, so this post focuses on the install itself.
Before you start: take a full backup of the WHMCS files and database, and keep a copy of configuration.php somewhere safe. Several items below move folders or edit that file. You bring your own WHMCS licence, and WHMCS isn’t included with ShoHost reseller, master, alpha or lifetime plans.
WHMCS security checklist at a glance
| # | Check | Where | Time |
|---|---|---|---|
| 1 | WHMCS and PHP are current | Utilities > Update WHMCS | 10 min |
| 2 | crons folder is outside the web root | File Manager or SSH, configuration.php | 15 min |
| 3 | attachments, downloads and templates_c are outside the web root | File Manager, Storage Settings | 15 min |
| 4 | configuration.php is set to 400 | File Manager or SSH | 2 min |
| 5 | HTTPS everywhere | General Settings > General | 5 min |
| 6 | Off-server database backups | System Settings > Database Backups | 10 min |
| 7 | Custom admin folder name, System Health clean | configuration.php, System Health | 10 min |
| 8 | Security tab reviewed | General Settings > Security | 10 min |
| 9 | Staff accounts and API credentials reviewed | Administrator Users, Manage API Credentials | 15 min |
| 10 | Every login has a second check | ShoSecureAuth or built-in 2FA | 15 min |
1. Keep WHMCS and PHP up to date
Security fixes only protect you once they’re installed. As of 19 October 2026, WHMCS 9.0 is the current stable release (9.0.9, released 24 September 2026), and 9.1 is in beta for testing only. Two dates are worth putting in your calendar:
- WHMCS lists an anticipated end-of-life date of 31 December 2026 for 9.0. Plan to move to 9.1 once it reaches general availability.
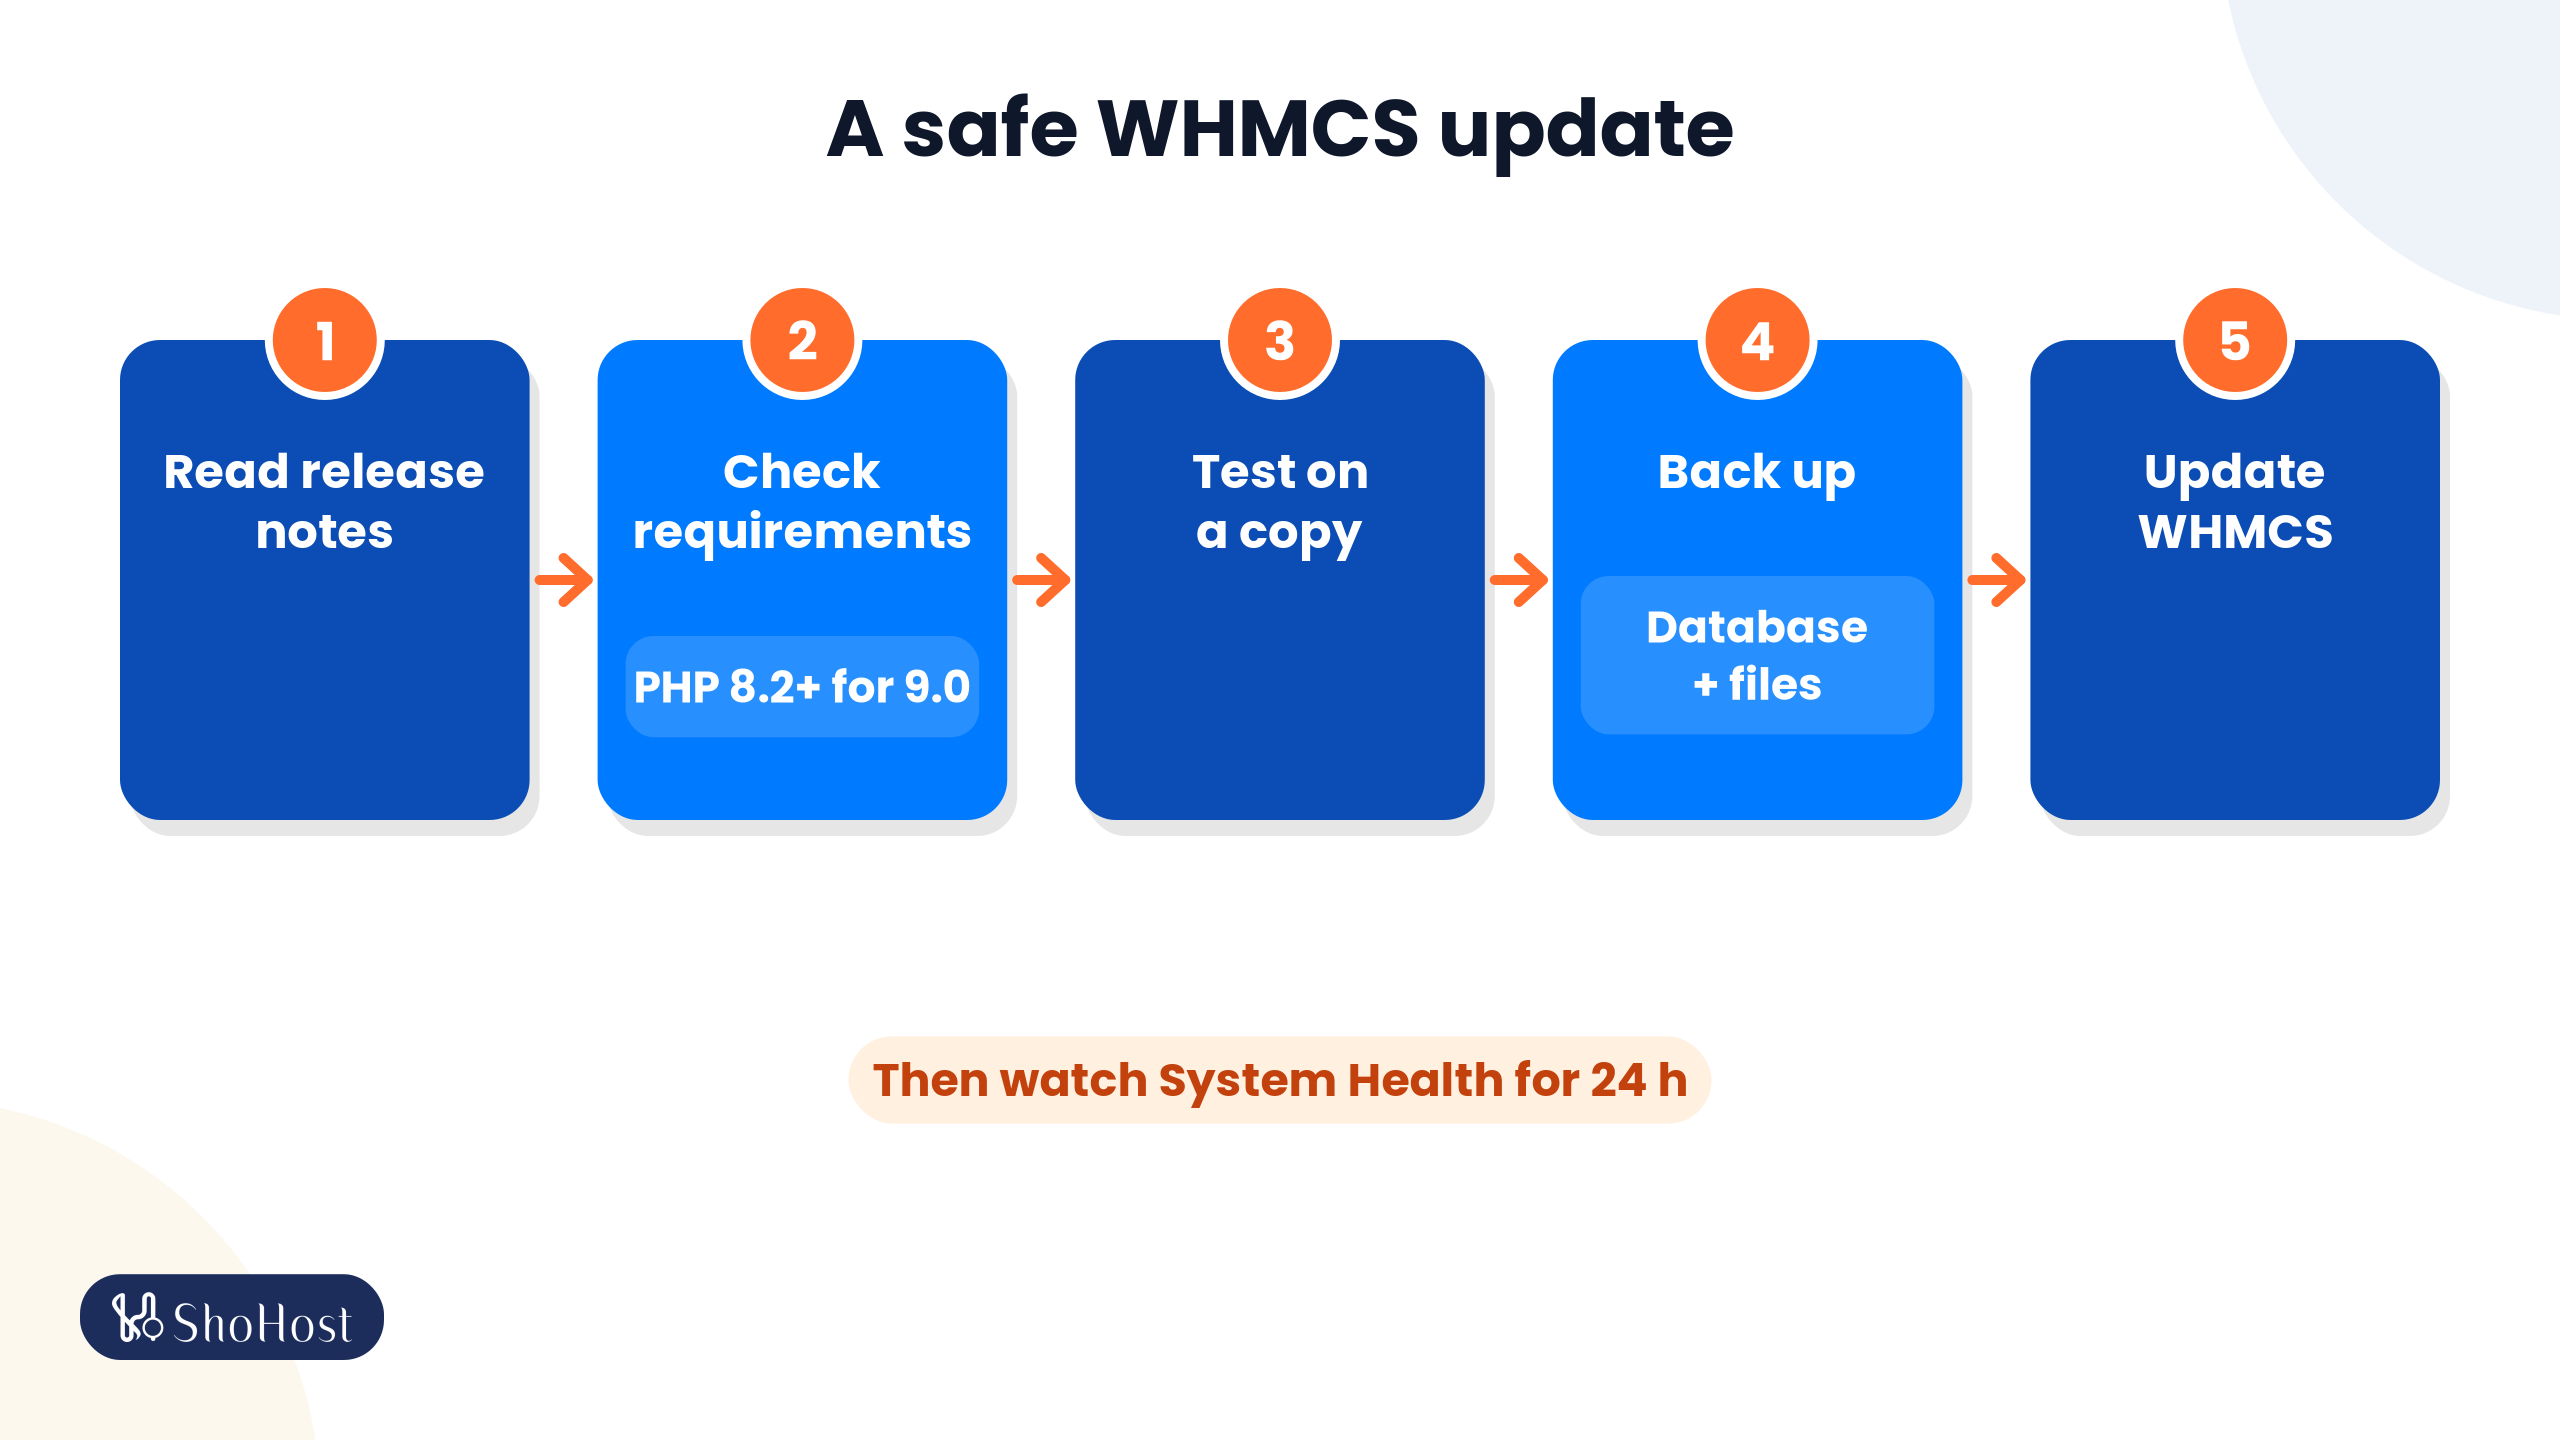
- WHMCS 9.0 needs PHP 8.2 or higher, and support for PHP 7.2, 7.3, 7.4 and 8.1 has been removed. For 9.1, upgrade ionCube Loader to 15.0.0 before updating WHMCS, and only move to PHP 8.4 after WHMCS 9.1 is installed.
WHMCS checks for updates daily and shows a notice in the Admin Area. To check by hand, go to Utilities > Update WHMCS, enter your admin password and click Check Now. Keep the update channel on Stable for a live install. Before you update, read the release notes, check the system requirements, test on a copy if you can, and back up the database and the whole WHMCS folder. Afterwards, watch Configuration > System Health for 24 hours.
Need to change PHP first? Our guide to changing the PHP version in cPanel shows how.
2. Move the WHMCS crons folder outside public_html
WHMCS recommends moving the crons folder to a private folder above your web root, so nobody can reach it from a browser. You can move it with cPanel > Files > File Manager (right-click > Move) or over SSH. The example below assumes WHMCS lives in /home/username/public_html/billing; change the paths to match yours.
mv /home/username/public_html/billing/crons /home/username/whmcs_crons
mv /home/username/whmcs_crons/config.php.new /home/username/whmcs_crons/config.php
Skip the second line if config.php already exists. Open /home/username/whmcs_crons/config.php, find the commented $whmcspath line, remove the two slashes at the start and set your WHMCS path:
$whmcspath = '/home/username/public_html/billing/';Then add this line at the bottom of configuration.php in the WHMCS root:
$crons_dir = '/home/username/whmcs_crons/';Finally, update the cron job in cPanel > Advanced > Cron Jobs so it points at the new folder. WHMCS recommends running it every five minutes:
*/5 * * * * php -q /home/username/whmcs_crons/cron.phpIf you also pipe email into WHMCS, update those forwarder paths too. Since WHMCS 9.0, direct browser (HTTP) requests to crons/cron.php are blocked with a 403 by default, so run the cron from the command line as shown. If automation stops after the move, recheck the three paths above first.
Remember: after every WHMCS update, copy any updated files from the default crons folder in the release into your moved folder. WHMCS warns that automation errors follow if you don’t.
3. Move attachments, downloads and templates_c outside the web root
WHMCS has three writeable folders: attachments (ticket files), downloads (files you offer clients) and templates_c (the template cache). WHMCS recommends moving all three above public_html. In File Manager, right-click each folder, choose Move and enter a path above public_html, or over SSH:
cd /home/username/public_html/billing
mv attachments downloads templates_c /home/username/
Point WHMCS at the new template cache by editing this line in configuration.php:
$templates_compiledir = "/home/username/templates_c/";Then update file storage in the Admin Area:
- Go to Configuration > System Settings > Storage Settings.
- On the Configurations tab, choose Local Storage under Add New Configuration, click +, enter the new
attachmentspath and save. Do the same fordownloads. - On the Settings tab, select the new locations and click Switch.
Warning: only click Switch if you really moved the folders. Switch just tells WHMCS where to look. If you created new, empty folders instead, use Migrate, which copies the files from the old folder to the new one.
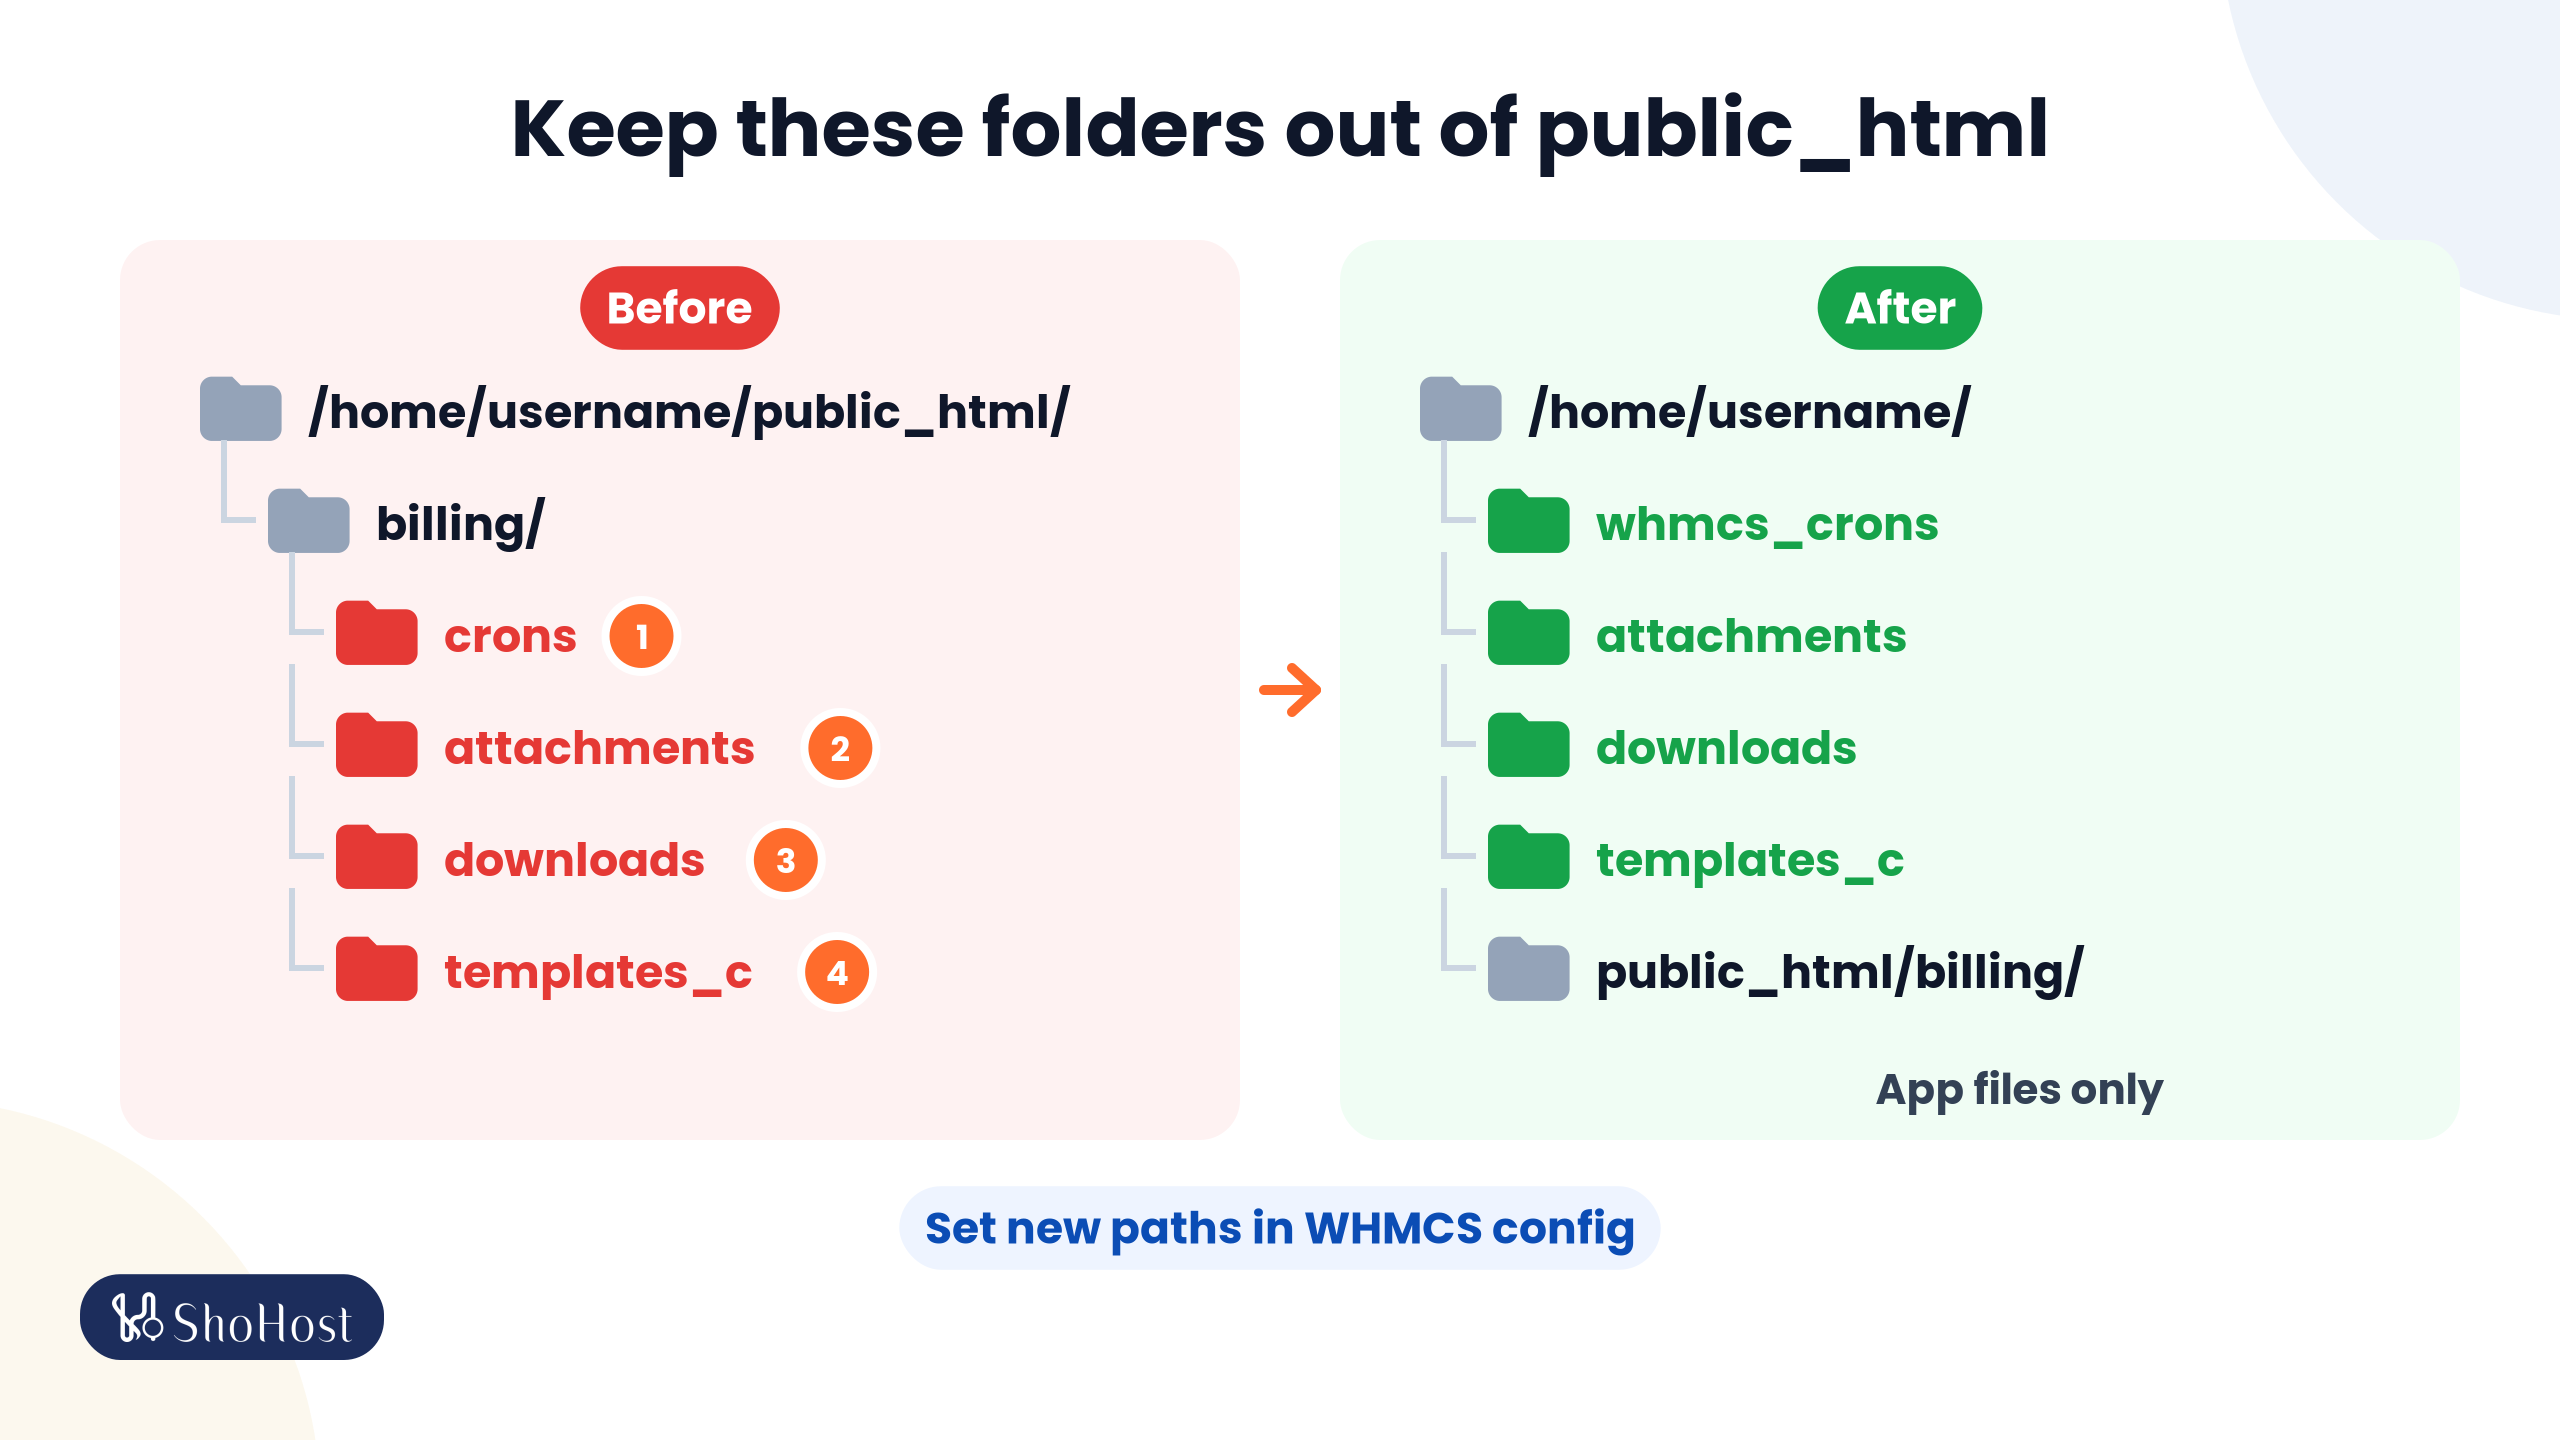
| Folder | Before | After | Point WHMCS at it with |
|---|---|---|---|
crons | /home/username/public_html/billing/crons | /home/username/whmcs_crons | $crons_dir in configuration.php |
attachments | /home/username/public_html/billing/attachments | /home/username/attachments | Storage Settings |
downloads | /home/username/public_html/billing/downloads | /home/username/downloads | Storage Settings |
templates_c | /home/username/public_html/billing/templates_c | /home/username/templates_c | $templates_compiledir in configuration.php |
Afterwards, public_html/billing holds the app files only.
4. Lock down configuration.php permissions
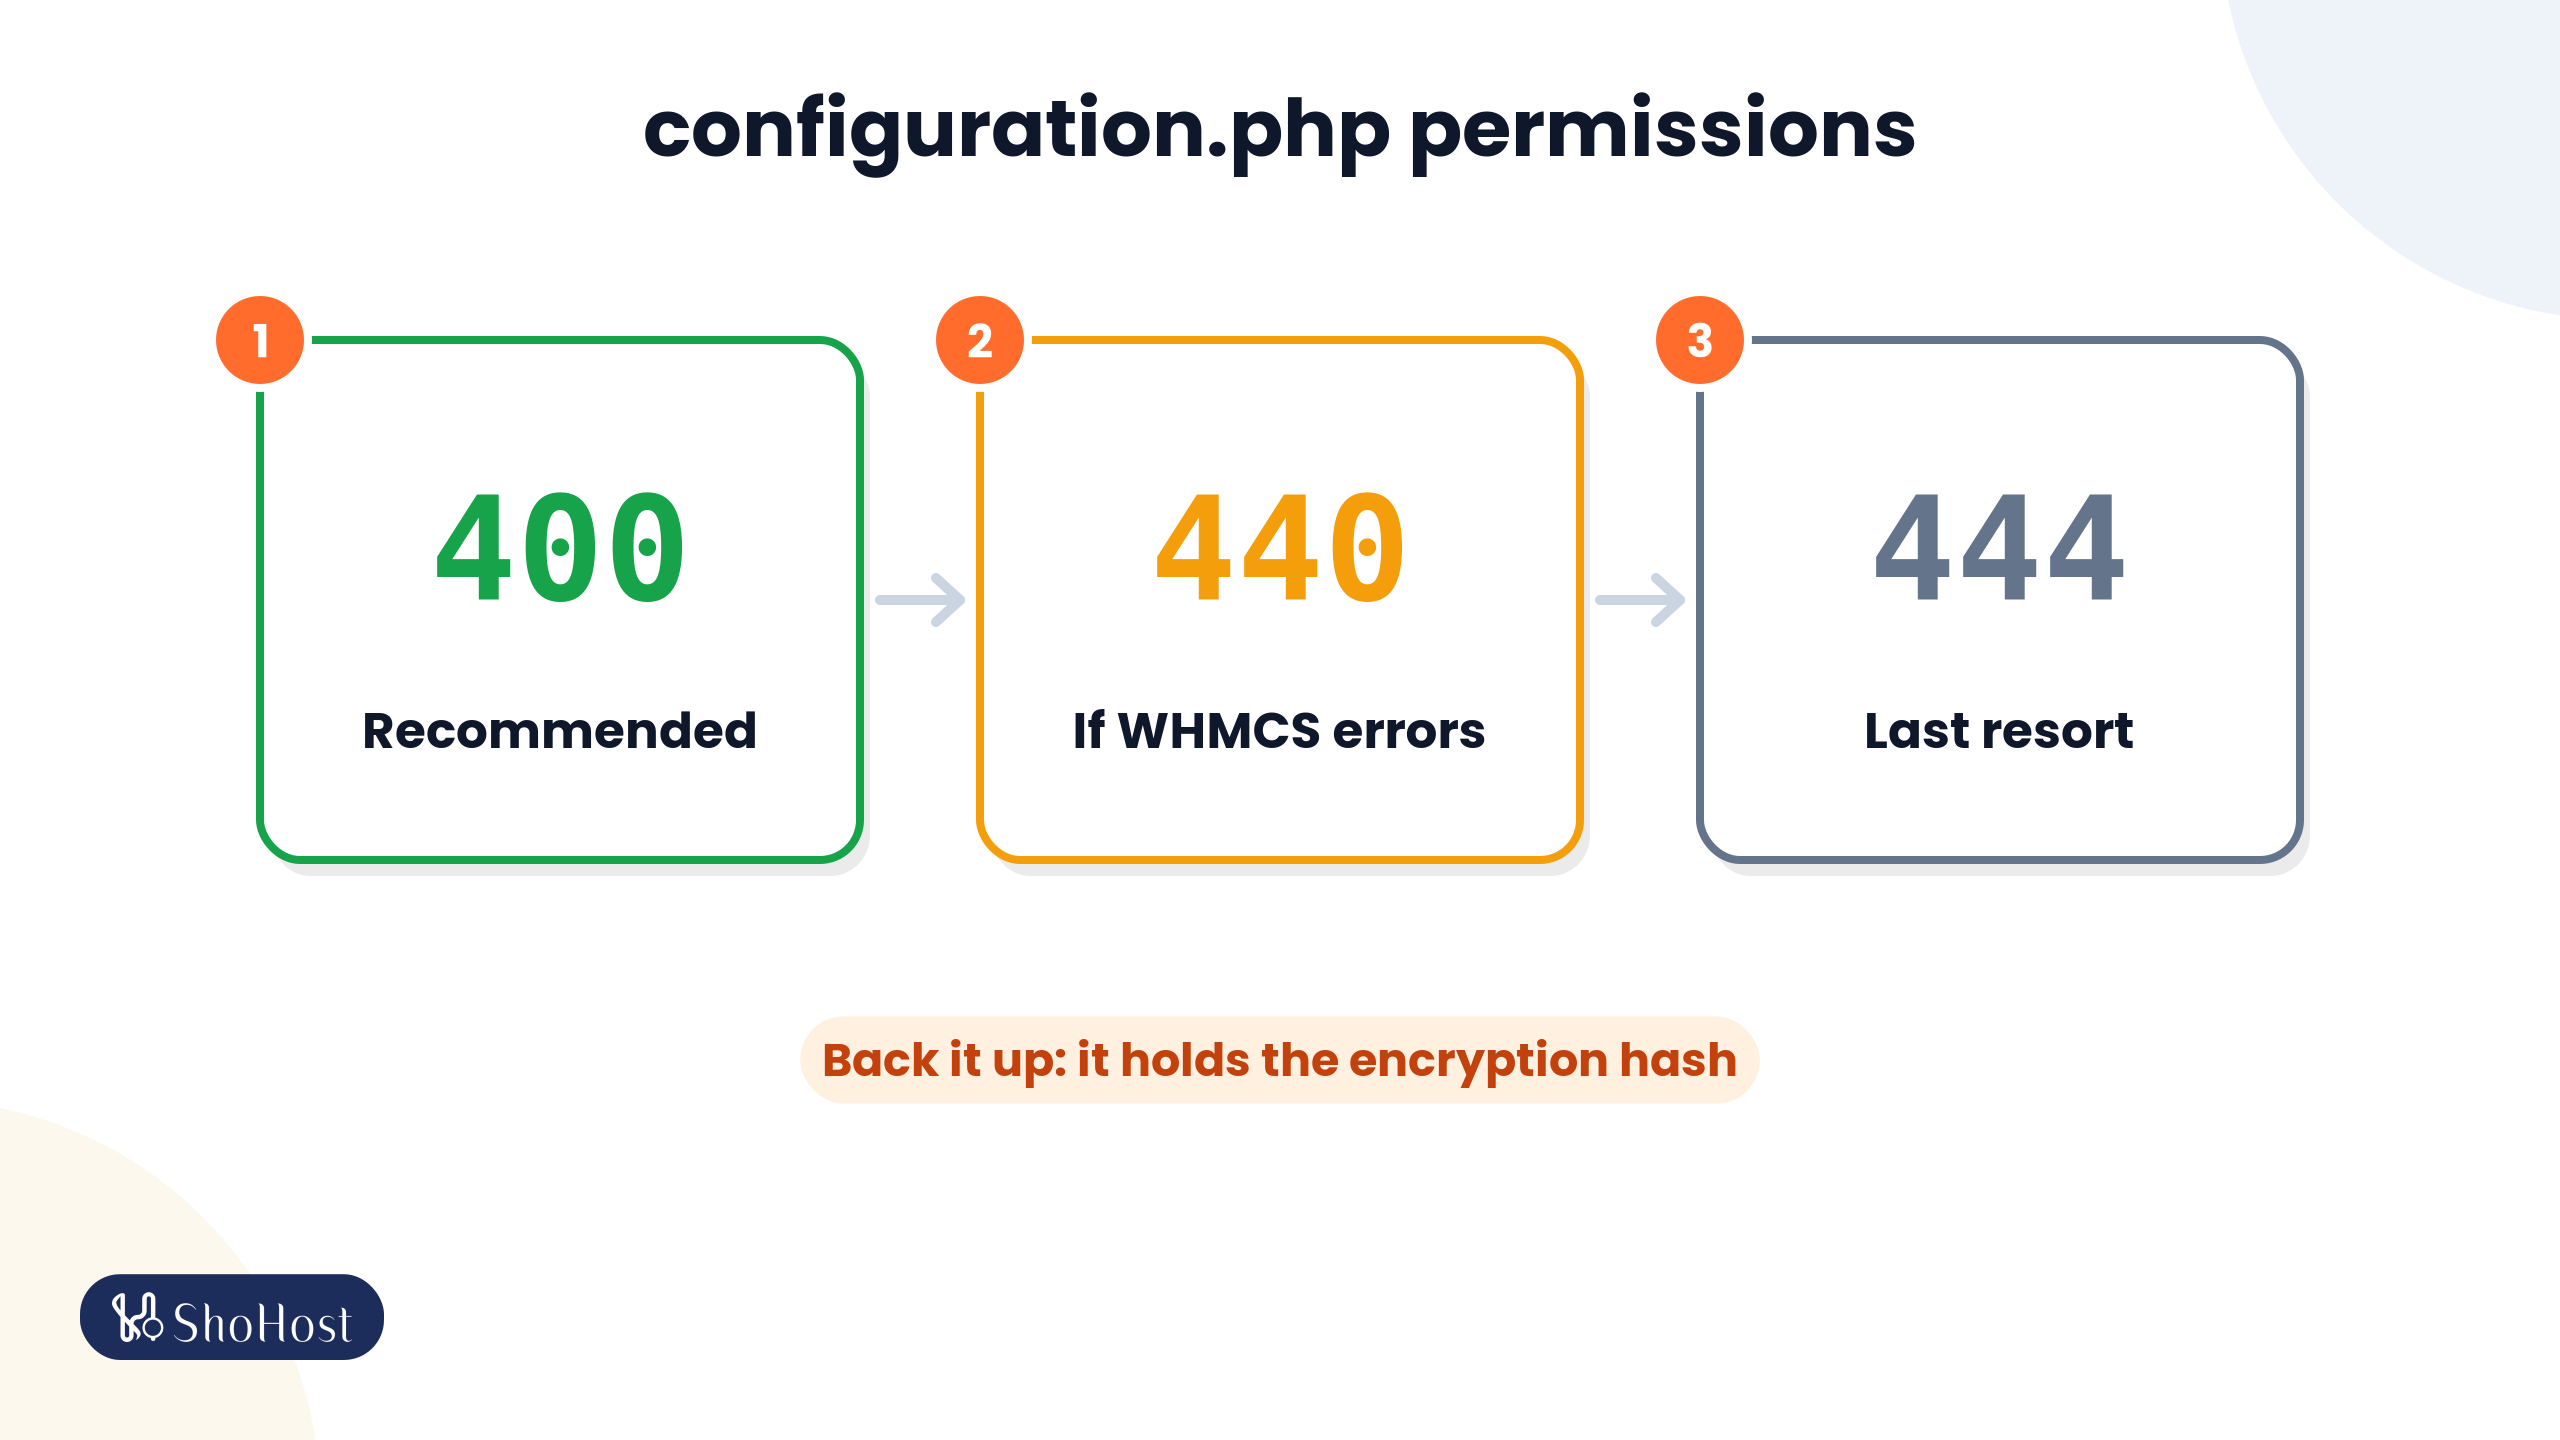
configuration.php holds your database details and the encryption hash for your data. WHMCS recommends 400 permissions, which give the system read-only access and stop anyone else reading, editing or running the file. From the WHMCS root folder:
chmod 400 configuration.php
ls -l configuration.php
The ls -l line should start with -r--------. If WHMCS shows an error after the change, WHMCS says some servers need 440 or 444, so try those in that order. In File Manager you can do the same with right-click > Change Permissions.
5. Force HTTPS for the whole WHMCS install
With a valid SSL certificate in place, set WHMCS System URL on the General tab at Configuration > System Settings > General Settings to the https:// address. Check it from any terminal:
curl -I https://billing.example.com/You want a 200 or a redirect to an https:// address, with no certificate error. If AutoSSL won’t issue a certificate, see how to fix AutoSSL in cPanel. HTTPS also matters for login protection: passkeys only work on a live site served over HTTPS.
6. Automate off-server WHMCS database backups
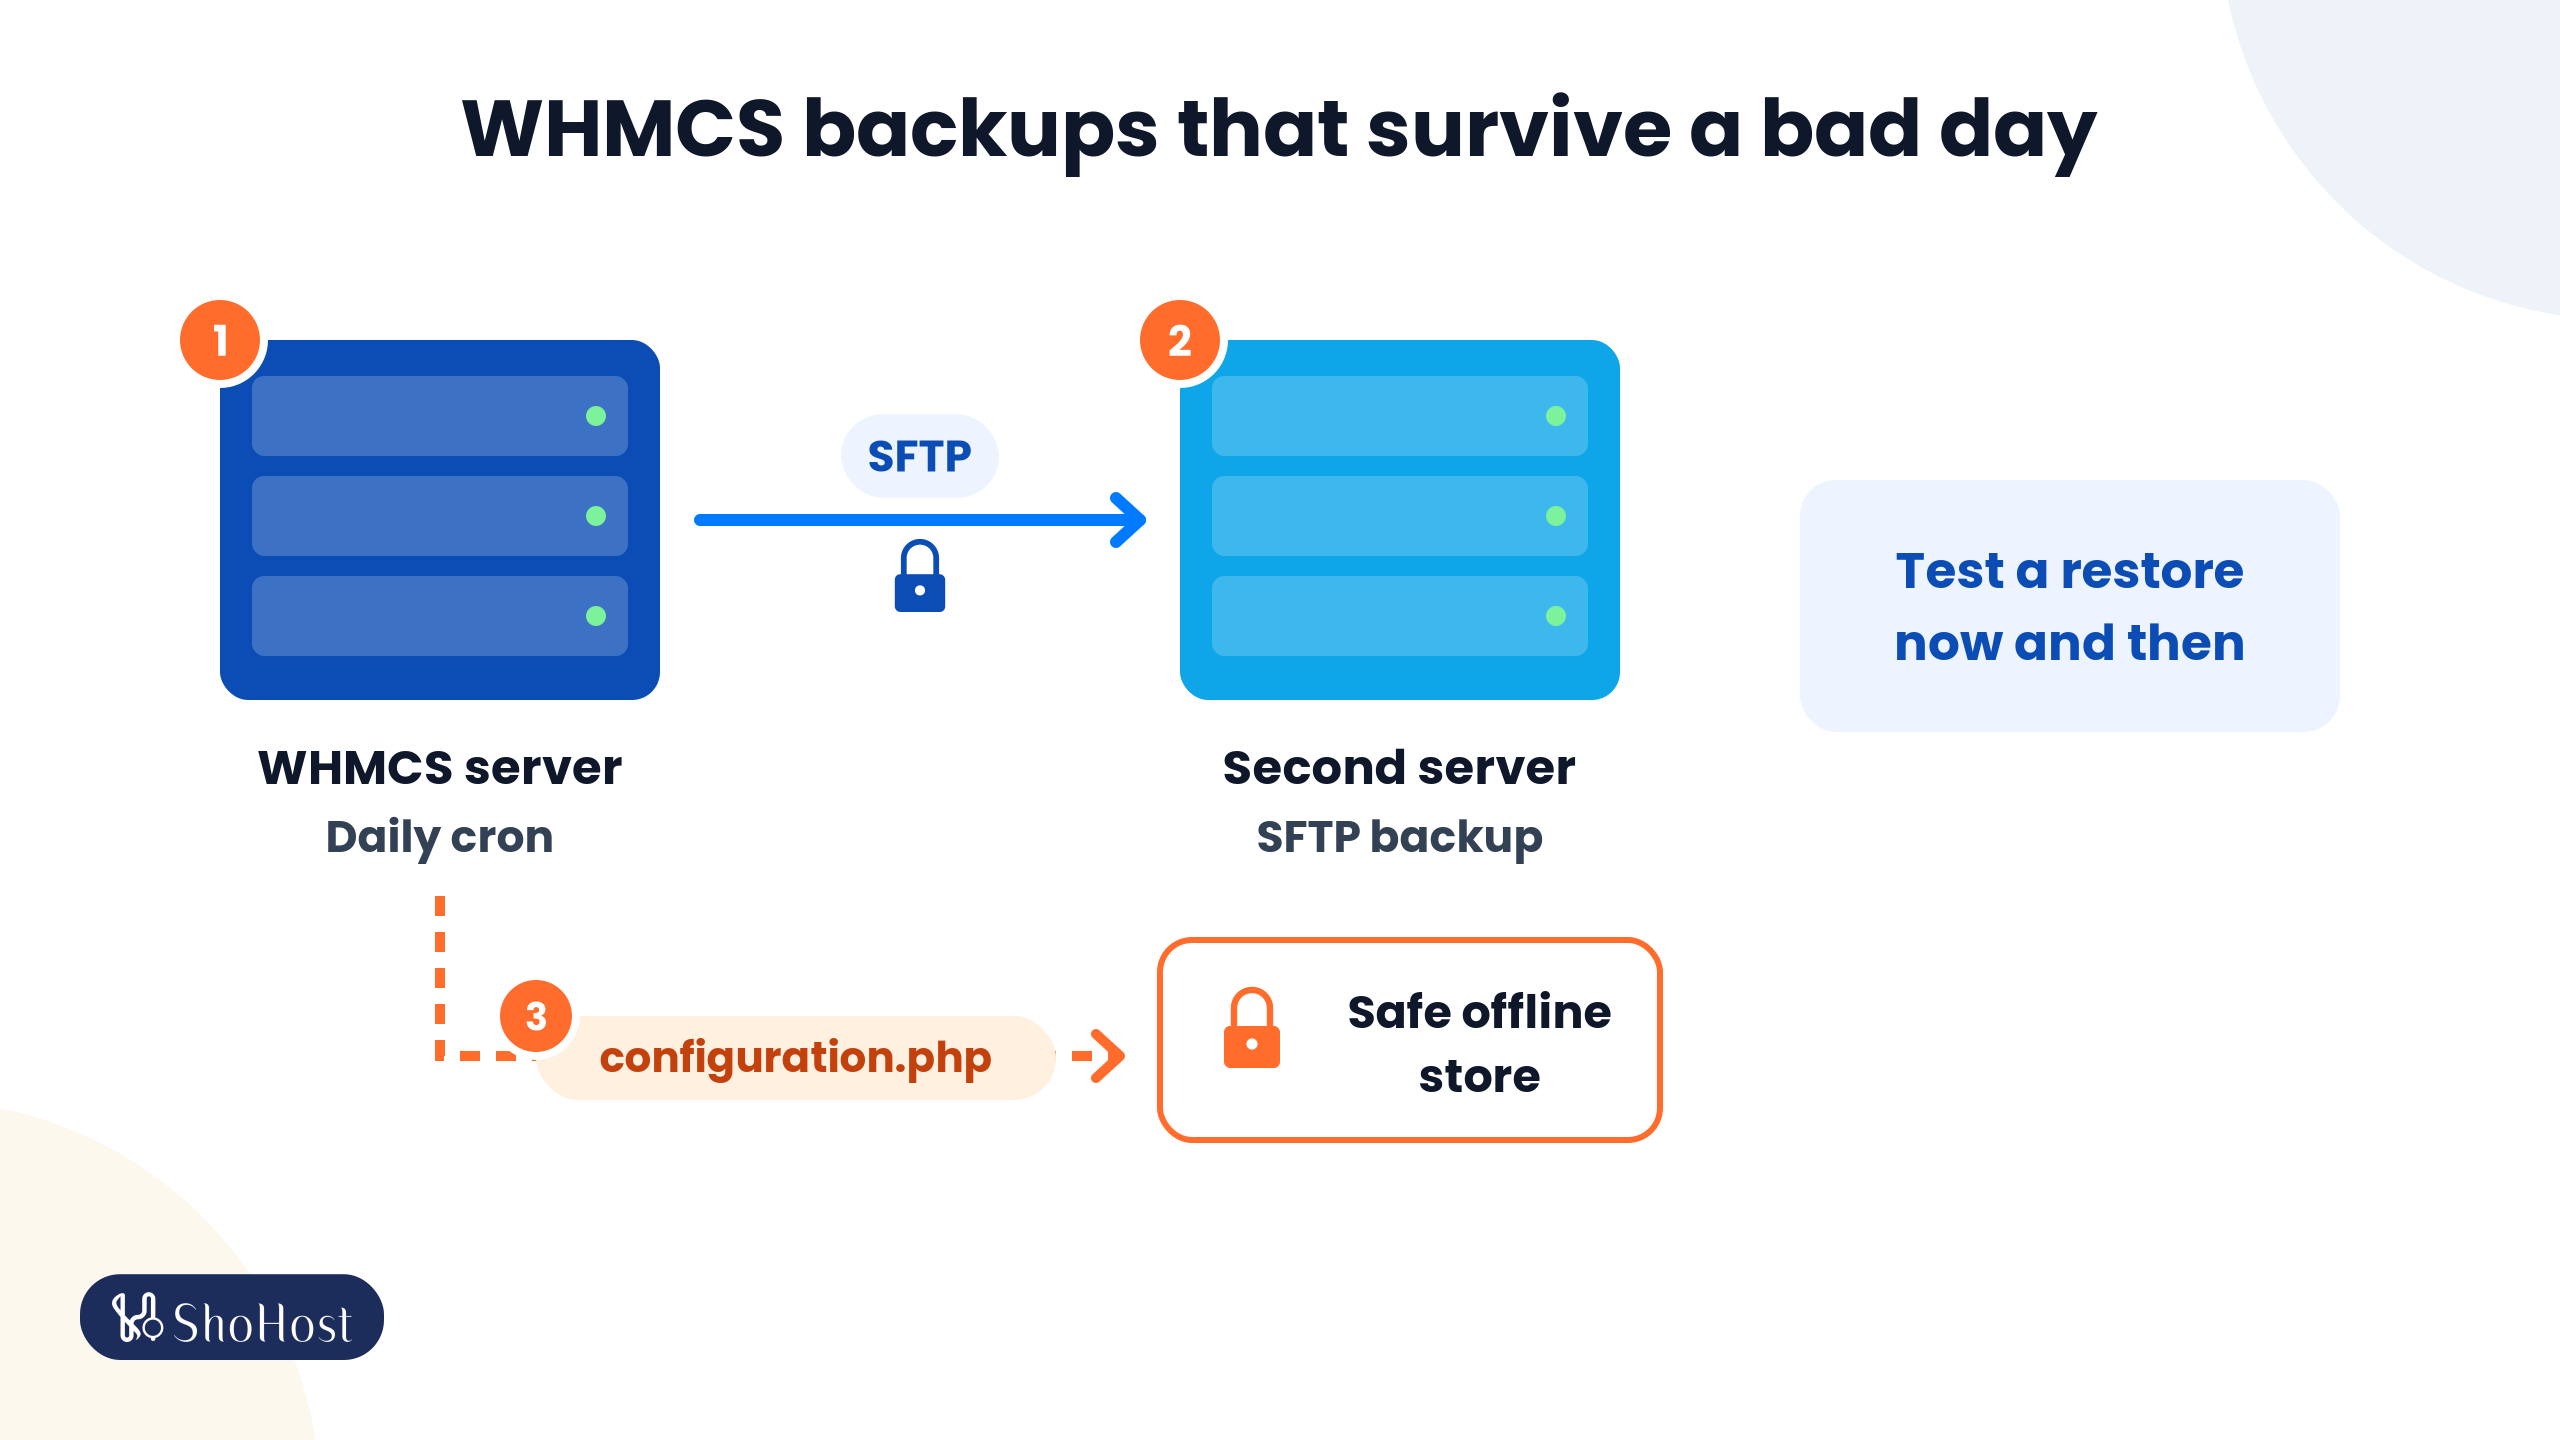
WHMCS can back up its own database every day. Go to Configuration > System Settings > Database Backups and pick one of the three options:
| Option | Good to know |
|---|---|
| SFTP/FTP Backup | Uploads a zipped SQL file to another server. Tick Use Secure FTP/SFTP. This is the one we’d choose. |
| cPanel Backups | Asks cPanel to start a full account backup. WHMCS doesn’t check that it finished or move the file. |
| Daily Email Backups | Emails the file. WHMCS warns it can fail on large databases. |
Click Test Connection, then Save & Activate. To run the backup task once by hand from the crons folder:
php -q /home/username/whmcs_crons/cron.php do --DatabaseBackupAlso keep a separate copy of configuration.php, because WHMCS can’t decrypt sensitive data without its encryption hash. And test a restore now and then. On ShoHost shared hosting, account backups run daily and are kept for 3 days, with one weekly copy in Google Drive. Treat that as a safety net, not as your only copy.
7. Rename the WHMCS admin folder and clear System Health warnings
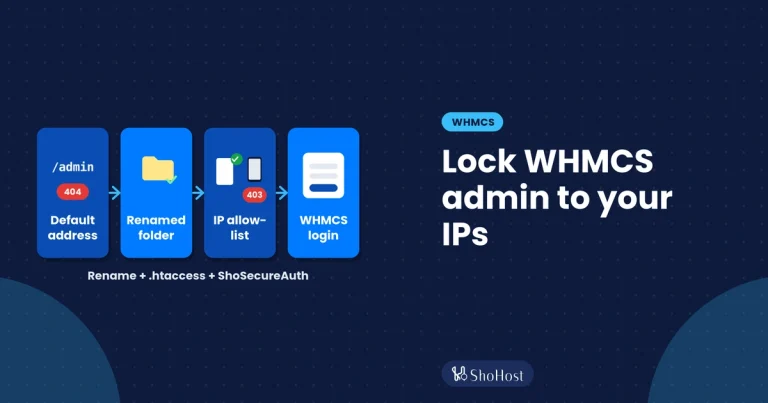
A custom admin folder name makes the login page harder for bots to find. Add this line to configuration.php before the closing ?>, if there is one, then rename the admin folder to the same name:
$customadminpath = "your-admin-name";The name can only use letters, numbers, hyphens and underscores. WHMCS warns that renaming it later can break callback URLs that mention the old folder, and that after each update you must copy the updated admin files into your renamed folder. Our guide to restricting WHMCS admin access goes further, with IP restrictions.
Then open Configuration > System Health and clear what it flags. One common warning is the Sensitive Directory Check for /vendor. On Apache, check that the .htaccess file in /vendor exists. On OpenLiteSpeed, make sure .htaccess files are enabled.
8. Review the WHMCS Security tab
Configuration > System Settings > General Settings > Security is where most of the built-in protection lives. The settings we’d check:
- Captcha: WHMCS strongly recommends reCAPTCHA v3 or hCaptcha. Tick Login Forms under Captcha for Selected Forms.
- Failed Admin Login Ban Time: leave it above 0 (the default is 15 minutes). Setting it to 0 turns the ban off completely. Our brute-force protection guide explains how it works.
- CSRF Tokens: General: keep it on. WHMCS recommends you always leave it enabled.
- Disable Session IP Check: leave it unticked unless you have a good reason. The check protects against session hijacking.
- Log API Authentication: turn it on if you use the API, so successful API logins appear in the Admin Log.
9. Review WHMCS staff accounts and API credentials
One login per person, a role that fits the job, and ex-staff disabled. Check Administrator Users, Administrator Roles and Manage API Credentials. Our guide to WHMCS staff accounts and admin roles has a full offboarding list.
10. Put a second check on every WHMCS login
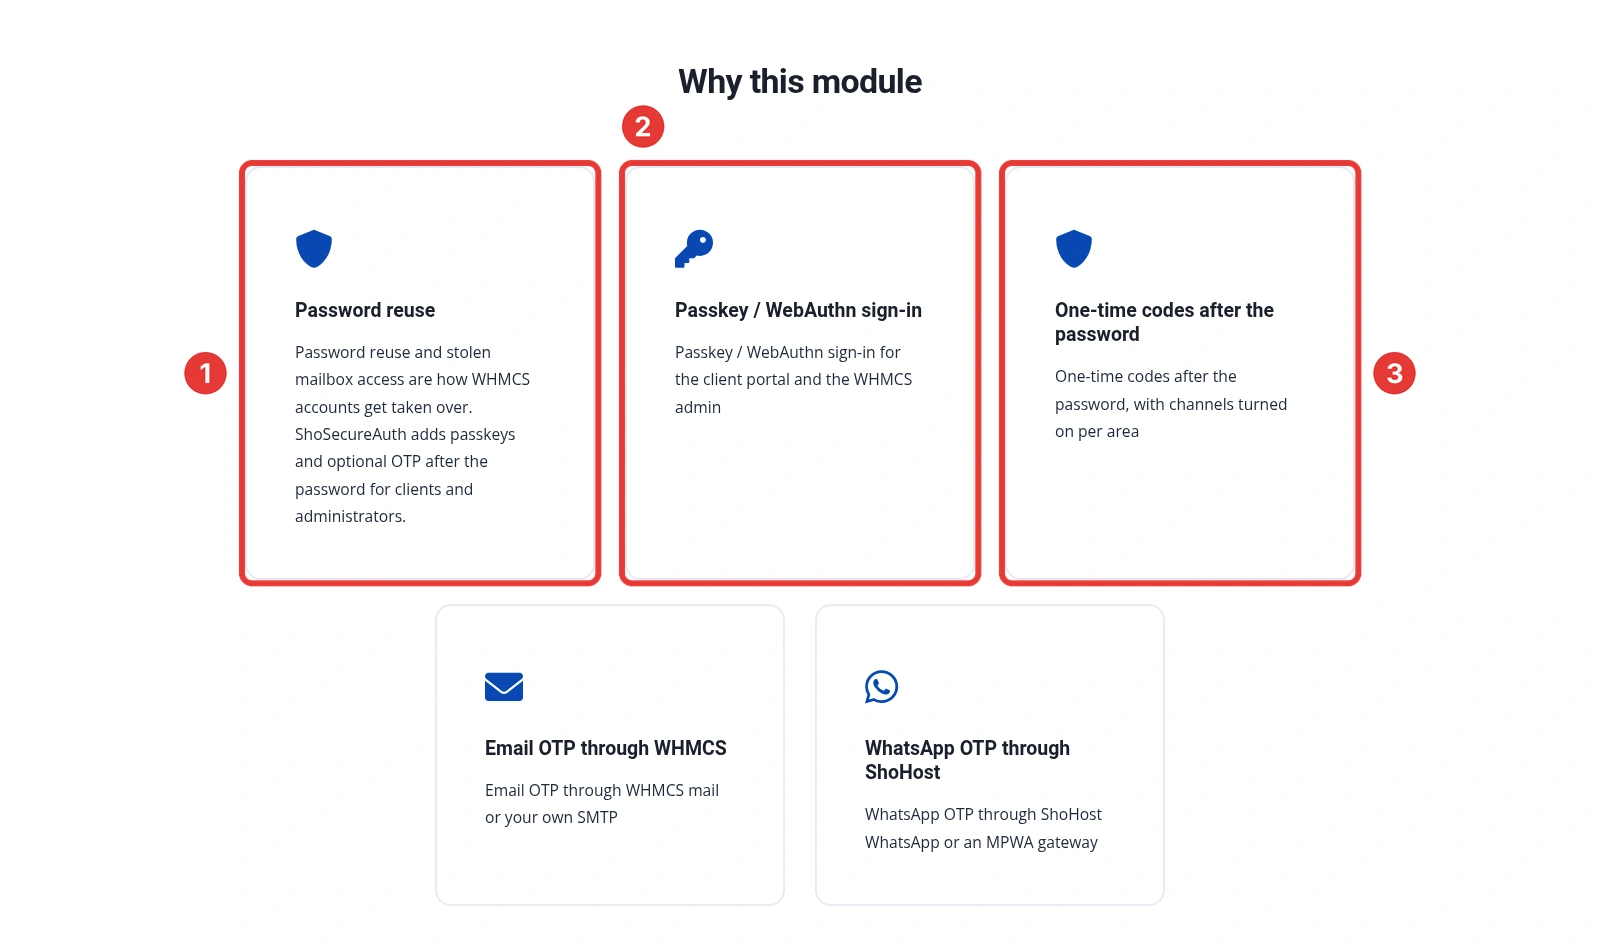
Items 1 to 9 make WHMCS harder to break into through the server. They don’t help when someone simply logs in with a stolen or reused password, which, along with stolen mailboxes, is how WHMCS accounts get taken over. That’s what ShoSecureAuth, our in-house WHMCS addon, is for:
- Passkey sign-in for the client portal and the WHMCS admin.
- One-time codes after the password, by email, WhatsApp, an authenticator app or backup codes, set separately for clients and admins.
- Login rate limits per IP and per account, an activity log, and health checks for the licence, HTTPS, RP ID and login template.
- A 15-day free trial from the addon’s License tab, and a 7-day refund on eligible module orders. Your WHMCS licence is separate, and third-party licences are non-refundable.
Not sure which method suits your team? Compare passkeys, TOTP and email codes for WHMCS staff. If you find signs that someone already got in, go straight to what to do first after a WHMCS hack. Questions about any item? Message WhatsApp support on +91 94880 91432.
WHMCS security checklist FAQs
Which WHMCS version should I run in 2026?
The latest stable release line is WHMCS 9.0 (9.0.9 was released on 24 September 2026). WHMCS 9.1 is in beta and recommended for testing only. WHMCS lists an anticipated end-of-life date of 31 December 2026 for 9.0, so plan your move to 9.1 once it’s generally available.
What permissions should configuration.php have?
WHMCS recommends 400. If WHMCS won’t load after that, try 440 and then 444. Always keep a backup copy of the file, because it holds the encryption hash for your data.
Do I have to move the crons folder out of public_html?
WHMCS recommends it for self-hosted installs. Move the folder above the web root, set $whmcspath in its config.php, add $crons_dir to configuration.php and update your cron job path.
Is the WHMCS database backup enough on its own?
No. WHMCS says the database holds your data, but you also need configuration.php, because without its encryption hash the system can’t decrypt sensitive data. Keep both, off the server.
Is a strong password and the built-in ban enough to protect the admin login?
It helps, but it doesn’t stop someone who already has a valid password. Add a second check, ideally a passkey, for every staff account. ShoSecureAuth adds passkeys and OTP after password to WHMCS.
Related WHMCS guides
- How to harden your WHMCS admin area with passkeys and 2FA
- Secure WHMCS staff accounts: admin roles and offboarding
- Stop WHMCS brute-force login attacks
- Restrict access to the WHMCS admin area
- Fix AutoSSL failed errors in cPanel
Source: WHMCS 9.0 documentation (Enhancing Security, Updating WHMCS, Database Backups, General Settings) and the 9.0 and 9.1 release notes, checked 19 October 2026.